Trézor.io/start (Official) | Set up your #Trézor
In the world of cryptocurrency, security is everything. With increasing threats from hackers, phishing scams, and malware, safeguarding your digital assets has become a top priority. This is where hardware wallets come in—and among them, Trezor stands out as one of the most trusted names. If you’ve recently purchased a Trezor device, your journey begins at Trezor.io/start. This official setup page ensures that your wallet is initialized safely and correctly.
In this guide, we’ll walk you through what Trezor.io/start is, why it’s important, and how to use it to securely set up your Trezor hardware wallet.
What Is Trezor.io/start?
Trezor.io/start is the official onboarding page provided by Trezor for first-time users. It serves as a step-by-step setup portal for initializing your hardware wallet, installing the required software, and following best security practices. Whether you’re using a Trezor Model One or Trezor Model T, this page ensures that you start safely and avoid counterfeit software or malicious websites.
Using the official setup page is critical because it guarantees that:
- You are installing authentic Trezor firmware
- You are using the legitimate Trezor Suite software
- Your private keys remain secure and offline
Why Use Trezor for Crypto Storage?
Before diving into the setup process, it’s important to understand why Trezor is a preferred choice for crypto holders:
- Cold Storage Security: Private keys never leave the device
- Open-Source Firmware: Fully transparent and community-audited
- Wide Asset Support: Supports Bitcoin, Ethereum, Litecoin, ERC-20 tokens, and many more
- User Control: You own your keys, not a third party
By combining these features with the guided process at Trezor.io/start, users gain a secure foundation for managing their digital wealth.
Step-by-Step Setup Guide Using Trezor.io/start
1. Visit the Official Website
Open a browser and go directly to Trezor.io/start. Always double-check the URL to avoid phishing sites. Bookmarking the official page is highly recommended.
2. Connect Your Trezor Device
Plug your Trezor hardware wallet into your computer using the provided USB cable. The device will power on automatically and prompt you to begin setup.
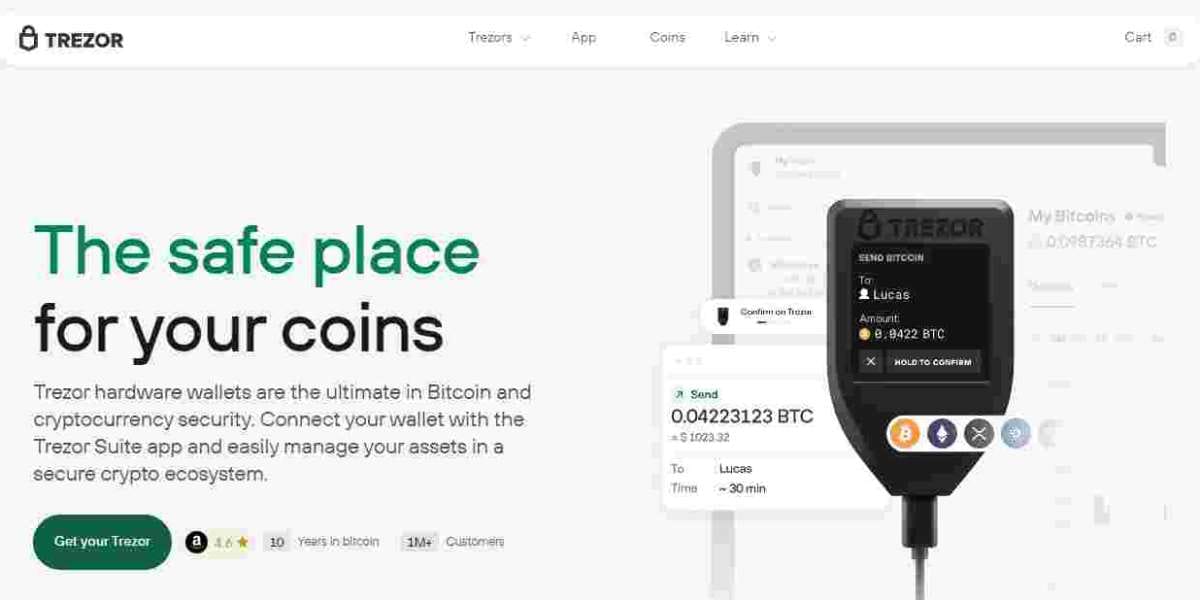
3. Install Trezor Suite
You’ll be guided to download Trezor Suite, the official desktop or web application used to manage your crypto assets. Trezor Suite allows you to:
- View account balances
- Send and receive cryptocurrencies
- Manage multiple wallets
- Update firmware
Make sure you download the software only through the links provided on Trezor.io/start.
Firmware Installation and Verification
Once Trezor Suite is installed, you may be prompted to install or update the firmware on your device. This is a normal and essential step. Trezor devices ship without pre-installed firmware to prevent tampering.
During this process:
- Follow on-screen instructions carefully
- Confirm actions directly on your Trezor device
- Never disconnect the device during installation
This ensures your hardware wallet is running authentic, up-to-date software.
Creating Your Wallet and Recovery Seed
Generate a Recovery Seed
One of the most critical steps in the setup process is generating your recovery seed. This seed is typically a 12, 18, or 24-word phrase that acts as the master key to your wallet.
Important security tips:
- Write the recovery seed on paper
- Never store it digitally
- Never share it with anyone
- Keep it in a safe, offline location
If your device is lost, damaged, or stolen, the recovery seed is the only way to restore your funds.
Confirm the Seed
Trezor will ask you to confirm the recovery words in the correct order. This step ensures you have written them down correctly.
Setting a PIN for Extra Protection
After securing your recovery seed, you’ll set up a PIN code. The PIN protects your device from unauthorized physical access. Each incorrect attempt increases the delay before another try, making brute-force attacks nearly impossible.
For maximum security:
- Use a unique PIN
- Avoid simple number patterns
- Never reveal your PIN to anyone
Managing Crypto with Trezor Suite
Once setup is complete, Trezor Suite becomes your central hub for managing cryptocurrencies. You can:
- Send and receive coins securely
- Track your portfolio
- Enable advanced features like passphrases
- Integrate with third-party wallets if needed
All transactions must be confirmed on the Trezor device itself, adding an extra layer of security.
Best Security Practices After Setup
To stay safe after using Trezor.io/start, keep these tips in mind:
- Only access Trezor through official websites
- Ignore emails asking for your recovery seed
- Keep firmware and Trezor Suite updated
- Consider using a passphrase for added protection
Final Thoughts
Setting up your hardware wallet through Trezor.io/start is the safest way to begin your crypto security journey. The guided process ensures that your device is authentic, your recovery seed is generated securely, and your assets remain under your full control.